Unfortunately, we don't support Internet Explorer anymore as it has been replaced by Microsoft Edge.
Please try downloading Microsoft Edge or an alternative modern browser for the best experience.
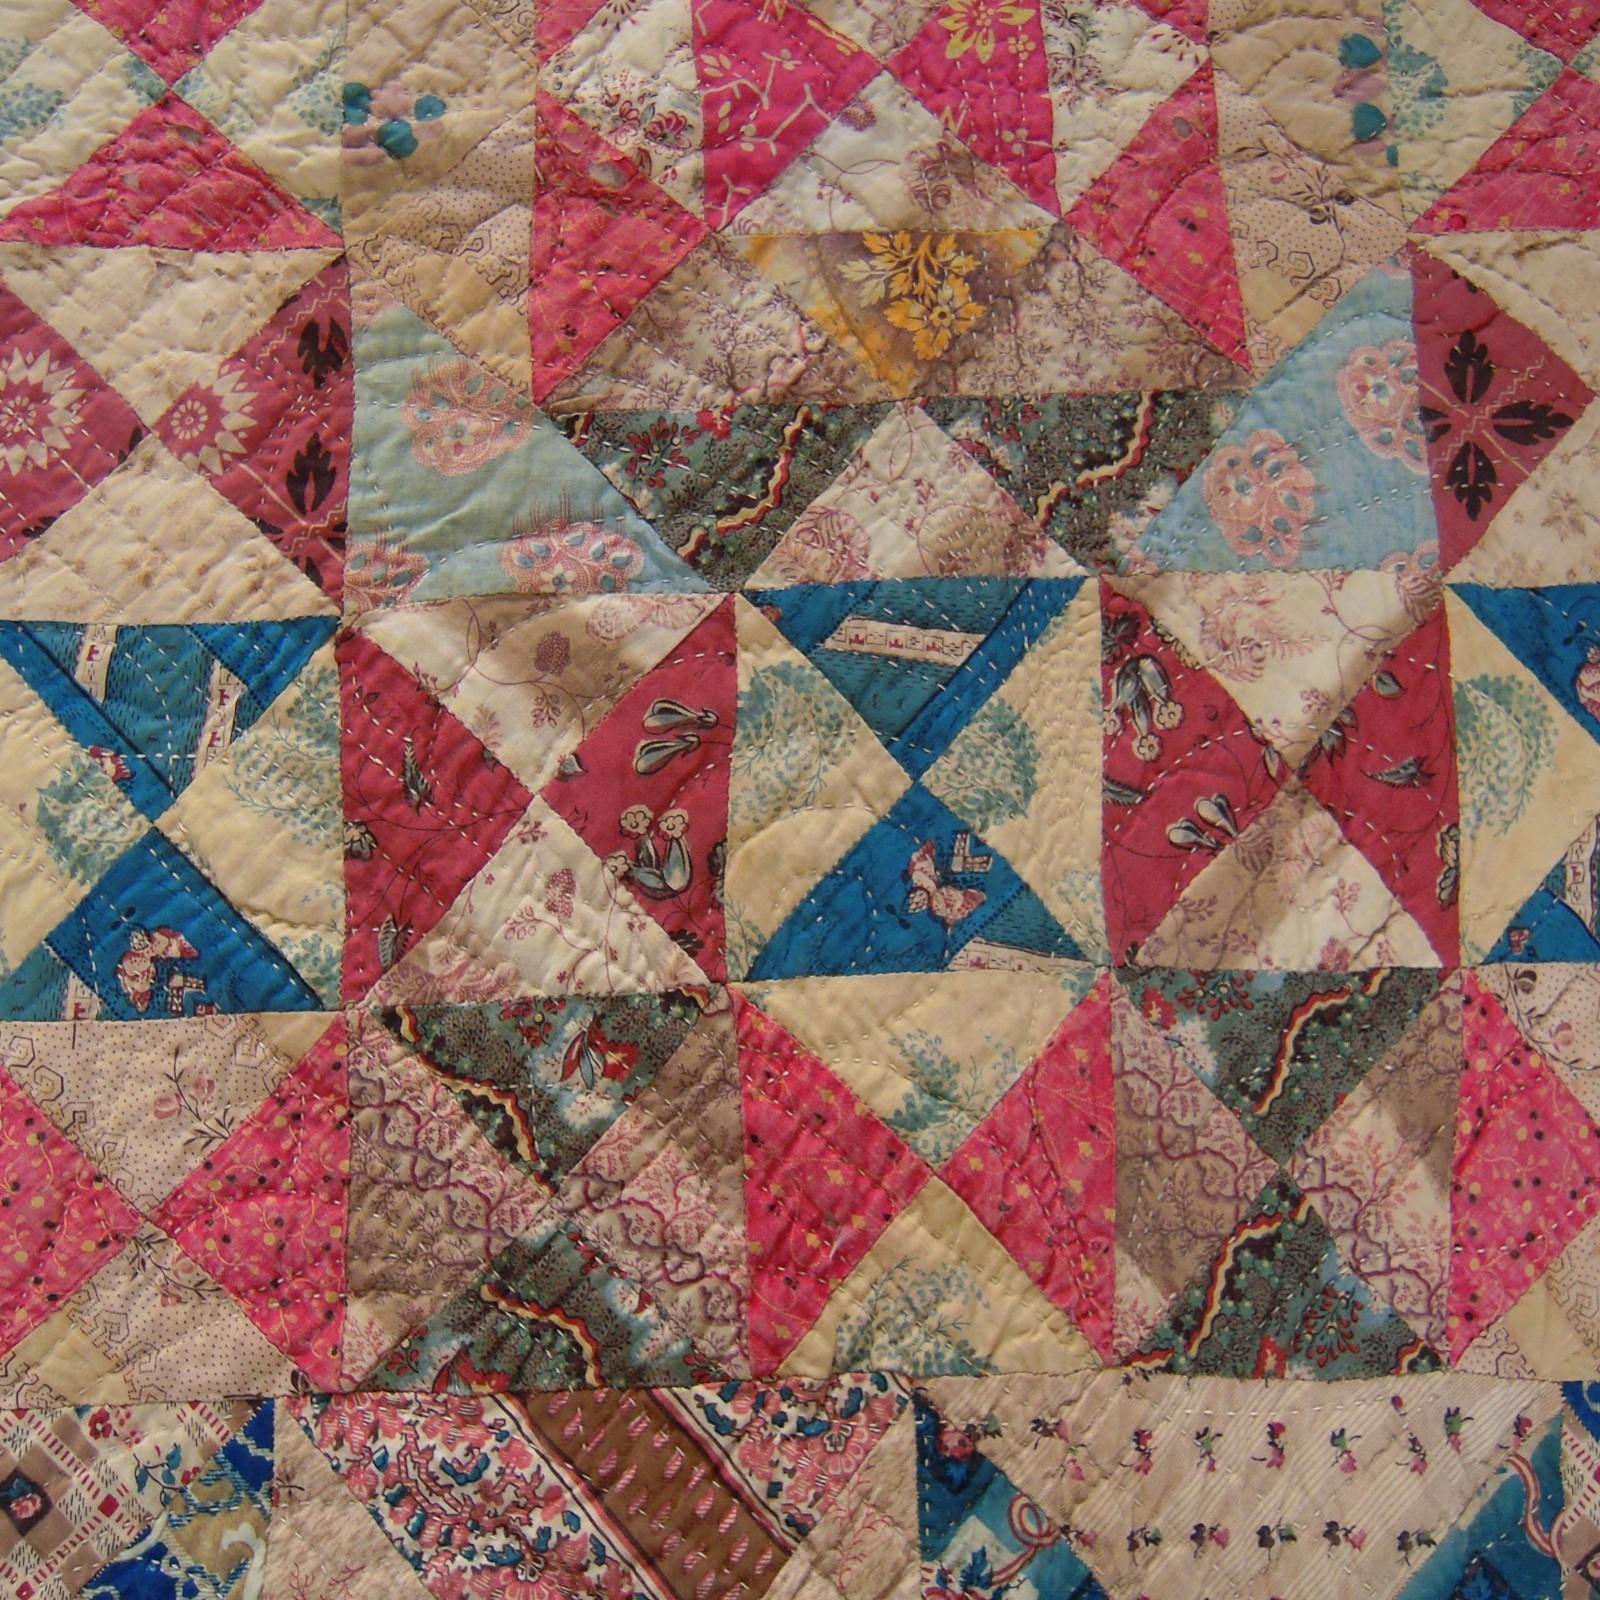
Hourglass patchwork top from the collection of Carolyn Gibbs.
The fabrics indicate that it was made in the very early years of the nineteenth century. There is no provenance, but it was probably intended for the centre of a frame quilt, which was never finished - probably because it doesn't lie flat. The red frill was undoubtedly added much later.
The top is entirely hand pieced. Some of the triangles are themselves pieced from even smaller scraps of fabric - an indication of the high cost of production of printed fabrics. The oversewing stitches indicate that this was pieced over papers, although no trace of these remain.
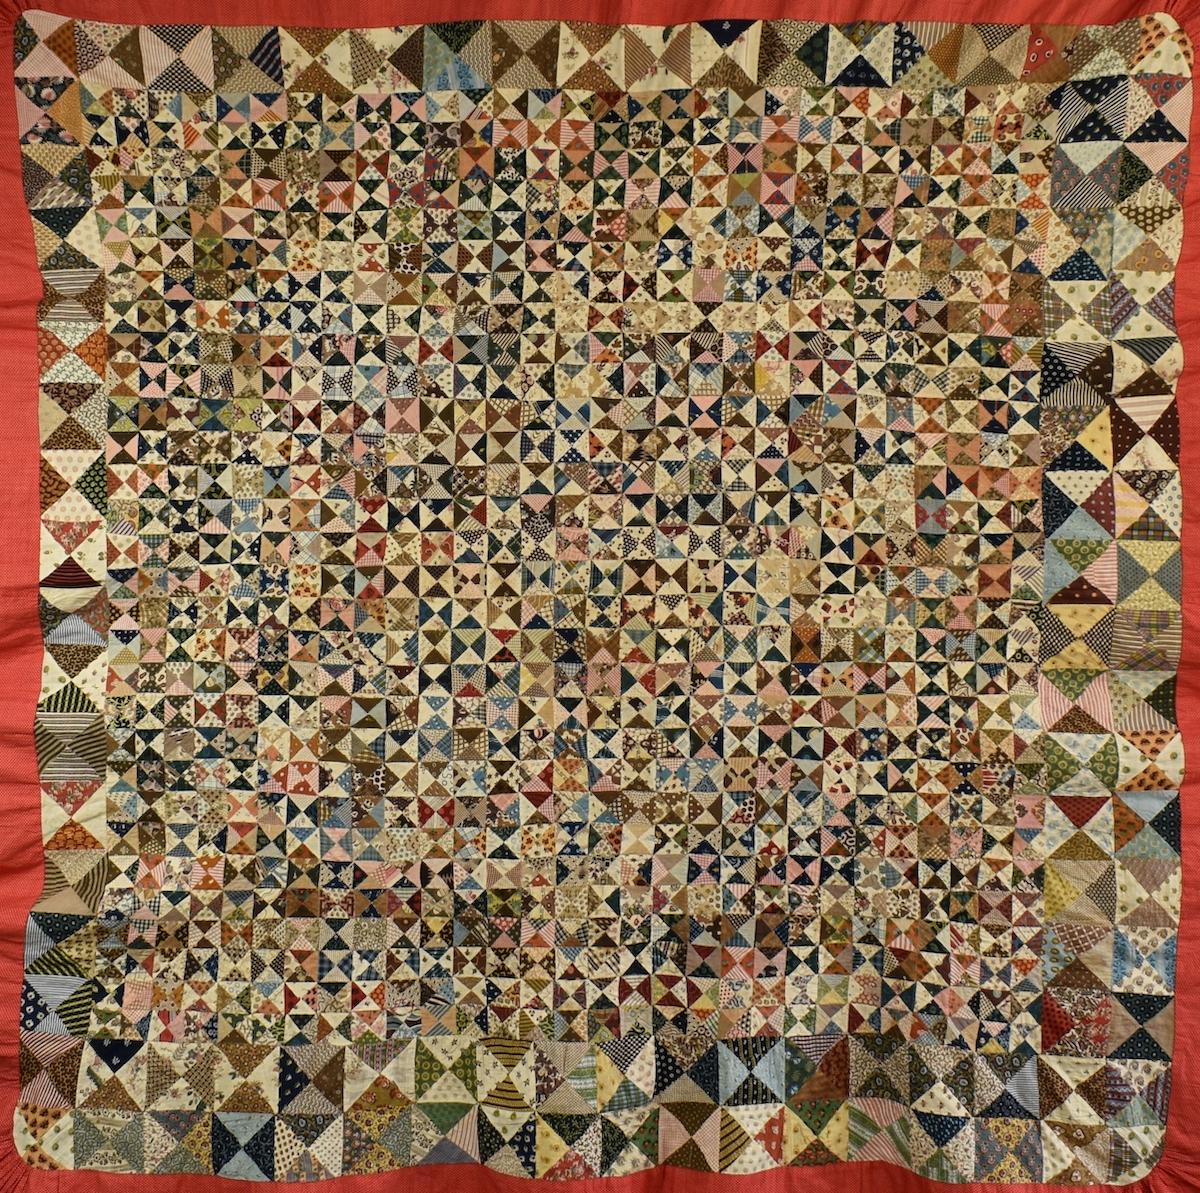
This piece of patchwork measures 54” (137 cm) square. The patchwork dates from the early 19th century but a red frill was added much later.
It contains an astonishing 3876 small triangles of fabric stitched into Hourglass (quarter square triangle) units in two sizes.
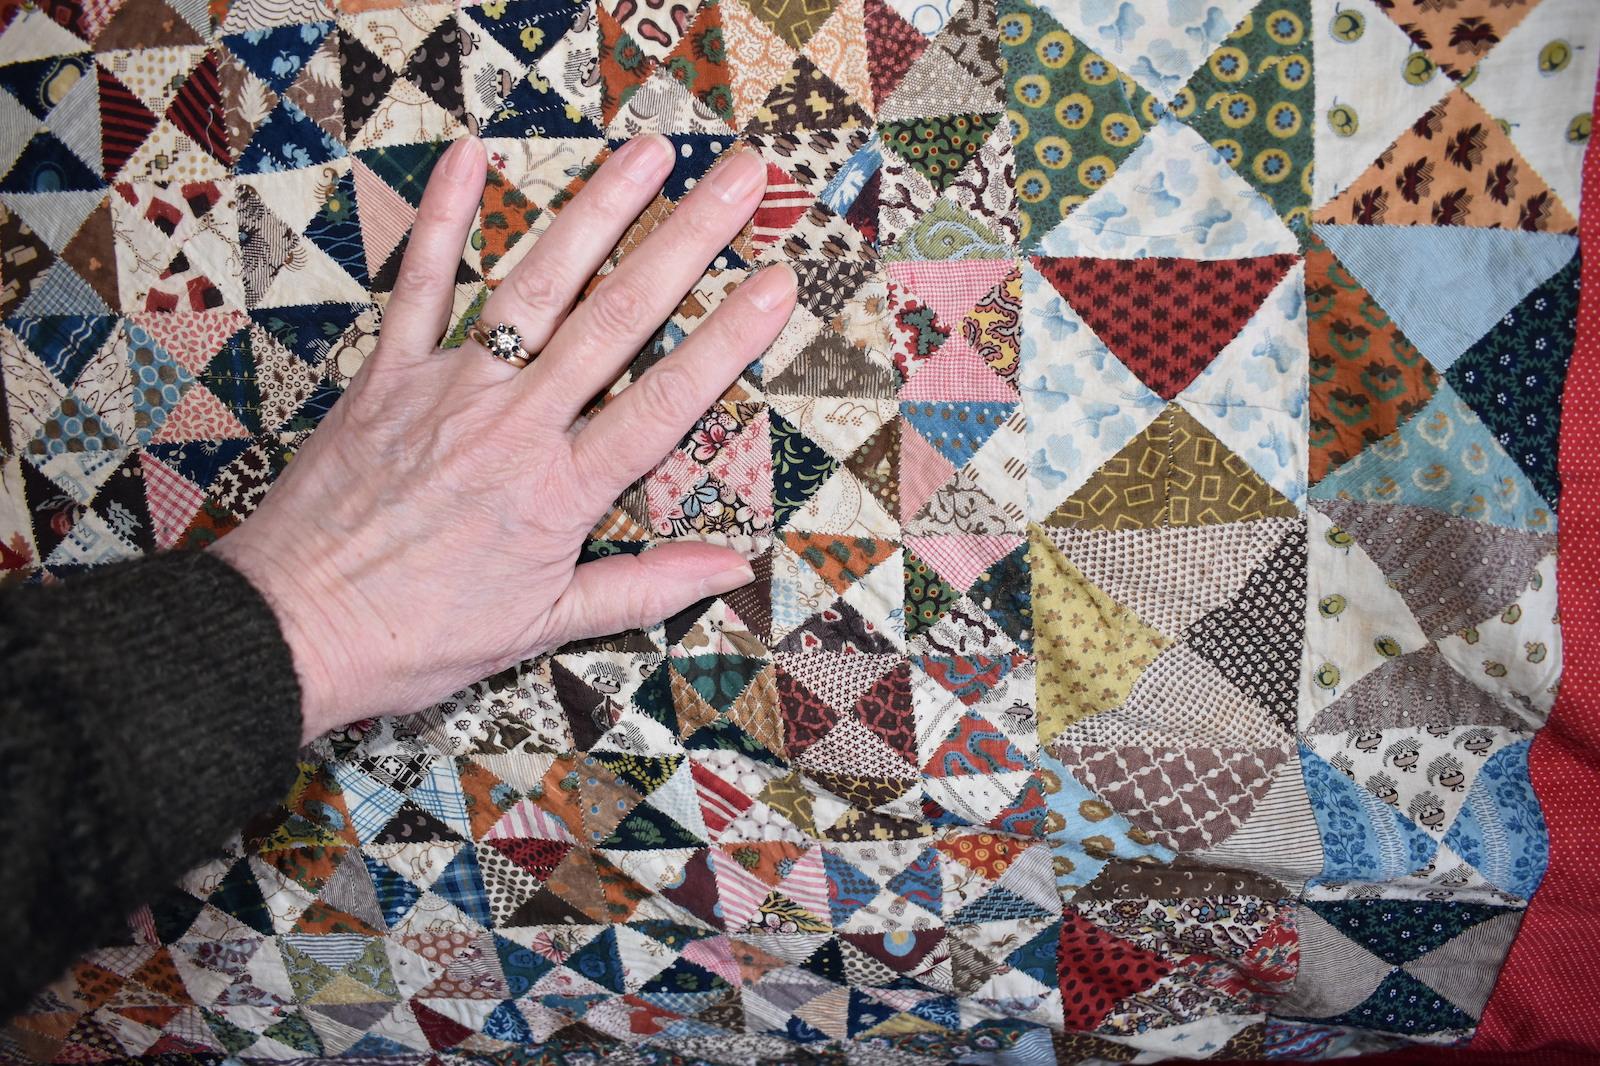
Central units are 1 ½” (4cm) square.
Border of larger 3” (7cm) squares.
The size of the hand demonstrates how tiny the Hourglass units are.
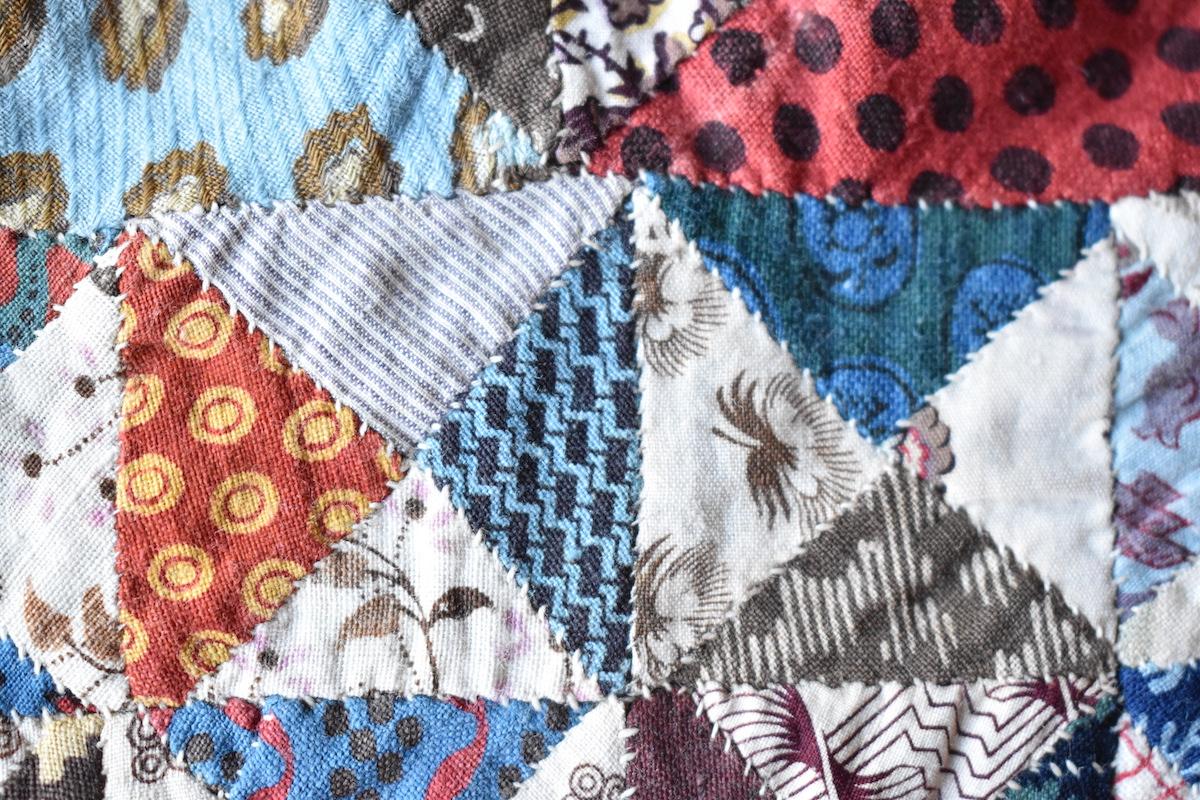
The top is entirely hand pieced. The oversewing stitches indicate that this was pieced over papers, although no trace of these remain.
Most of the fabrics were printed using carved wooden blocks, which often incorporated strips of metal and/or pins. There are a few examples of early fabrics printed with engraved copper cylinders.
Dyes used include indigo to obtain blue, quercitron which gave yellow, and madder which could give various shades of red, pink, purple and brown by using different mordants.
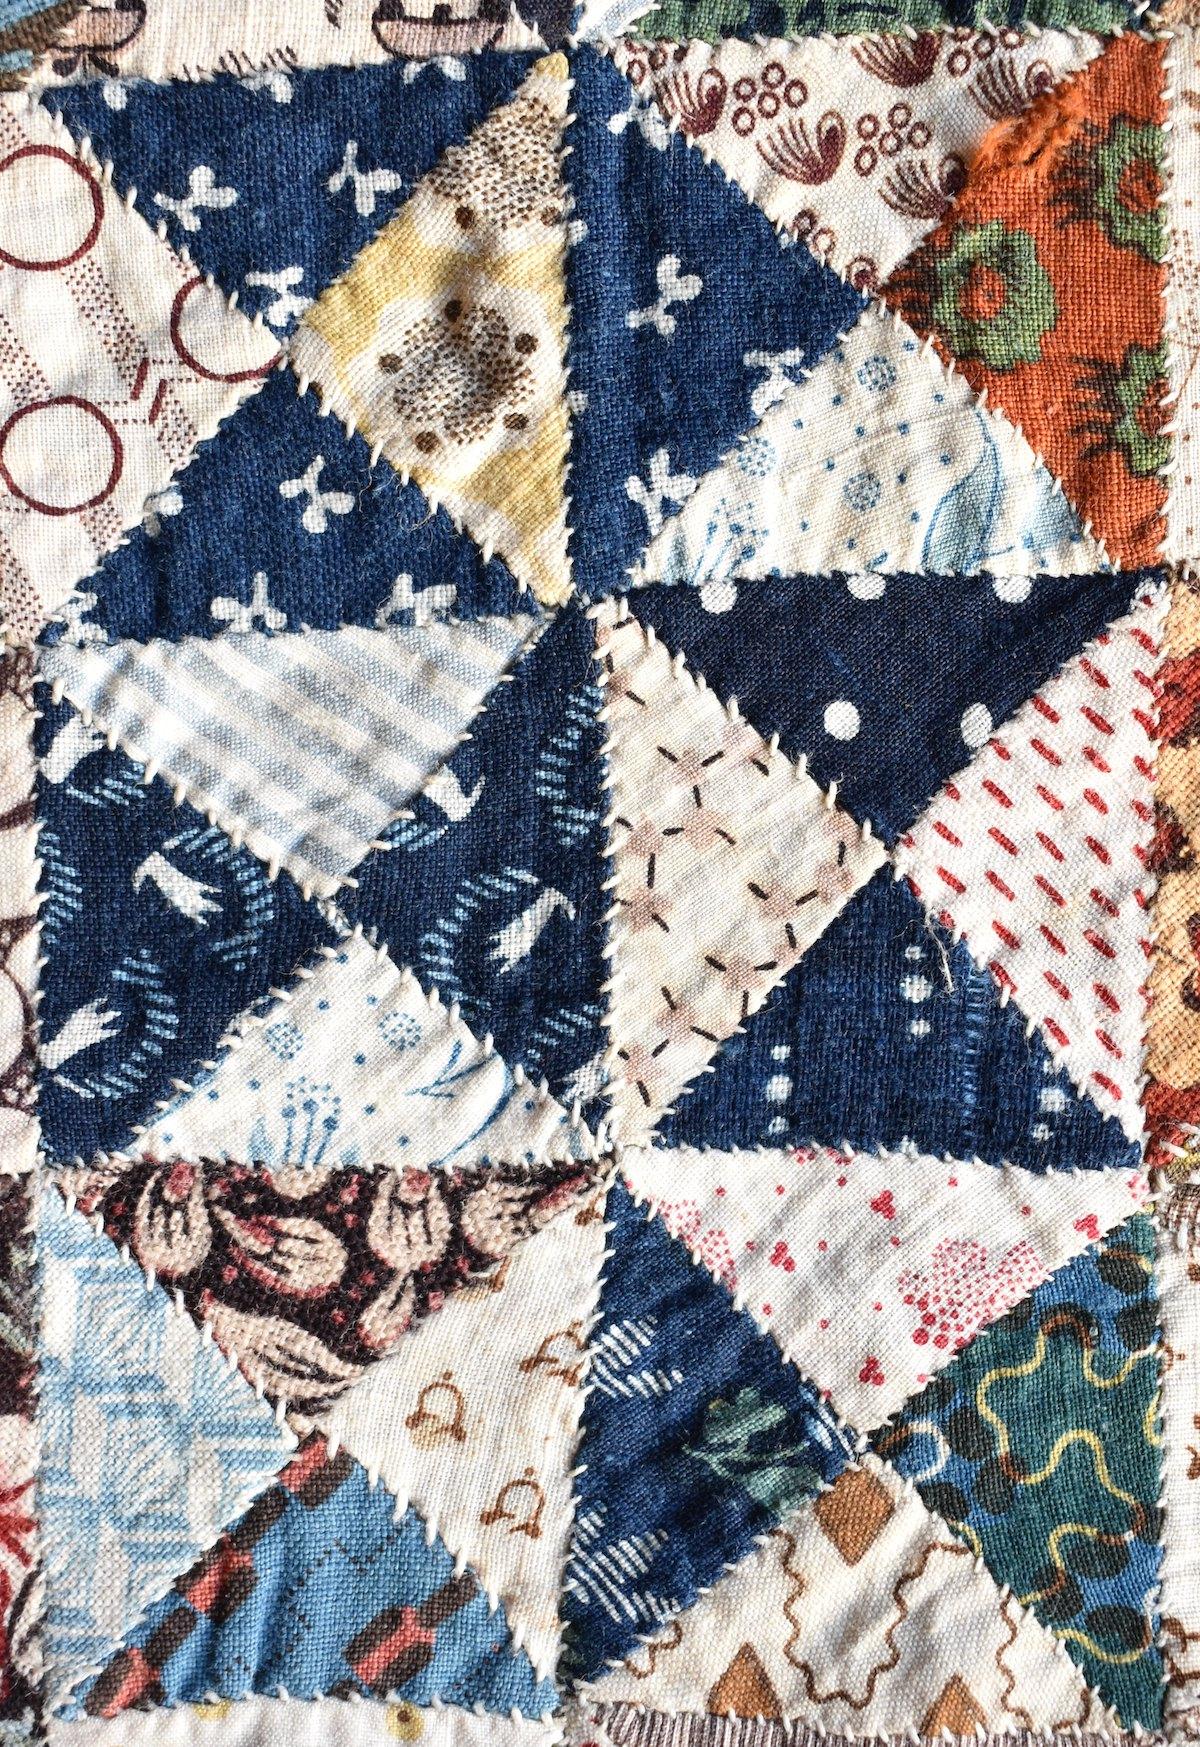
The printed fabrics include many dyed with indigo.
Using a carved wooden block to print a resist left white designs.
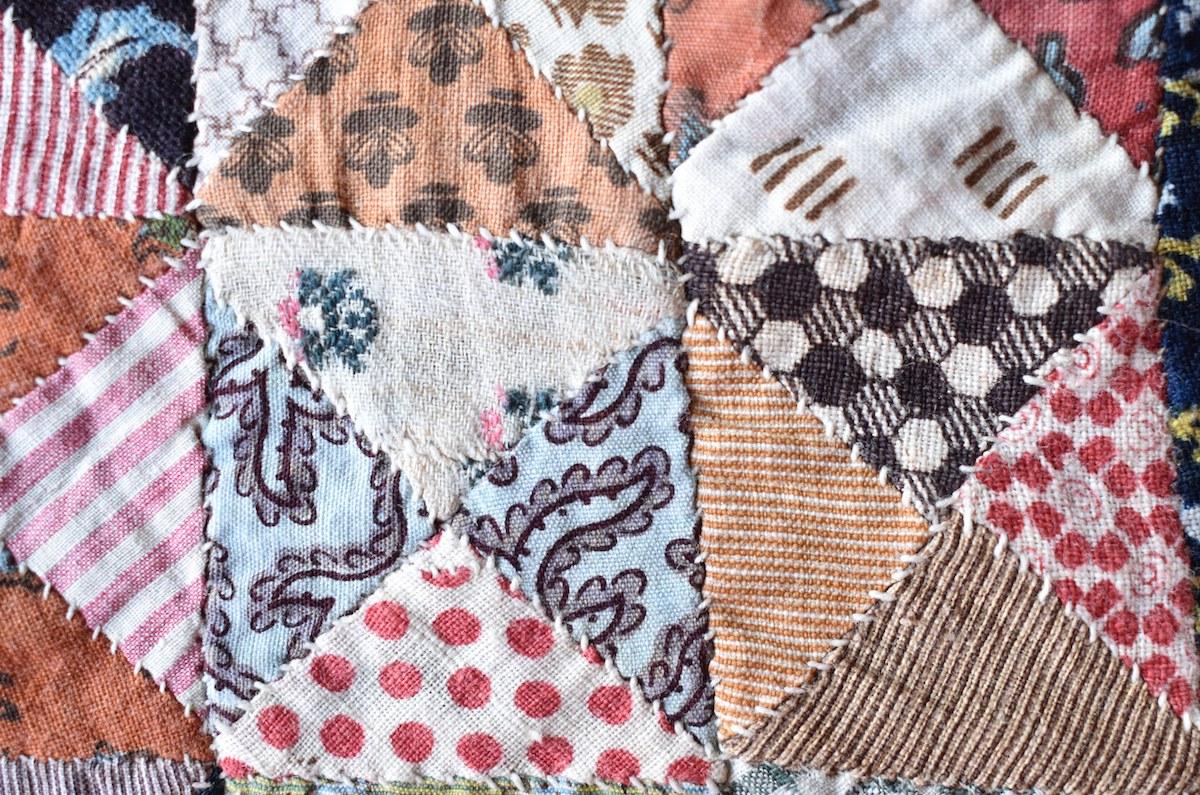
Madder could give reds, pinks, oranges or browns with different mordants.
The mordants were printed onto the fabric, which was then dipped in a madder dye bath. Colour only attached where the mordant had been printed.
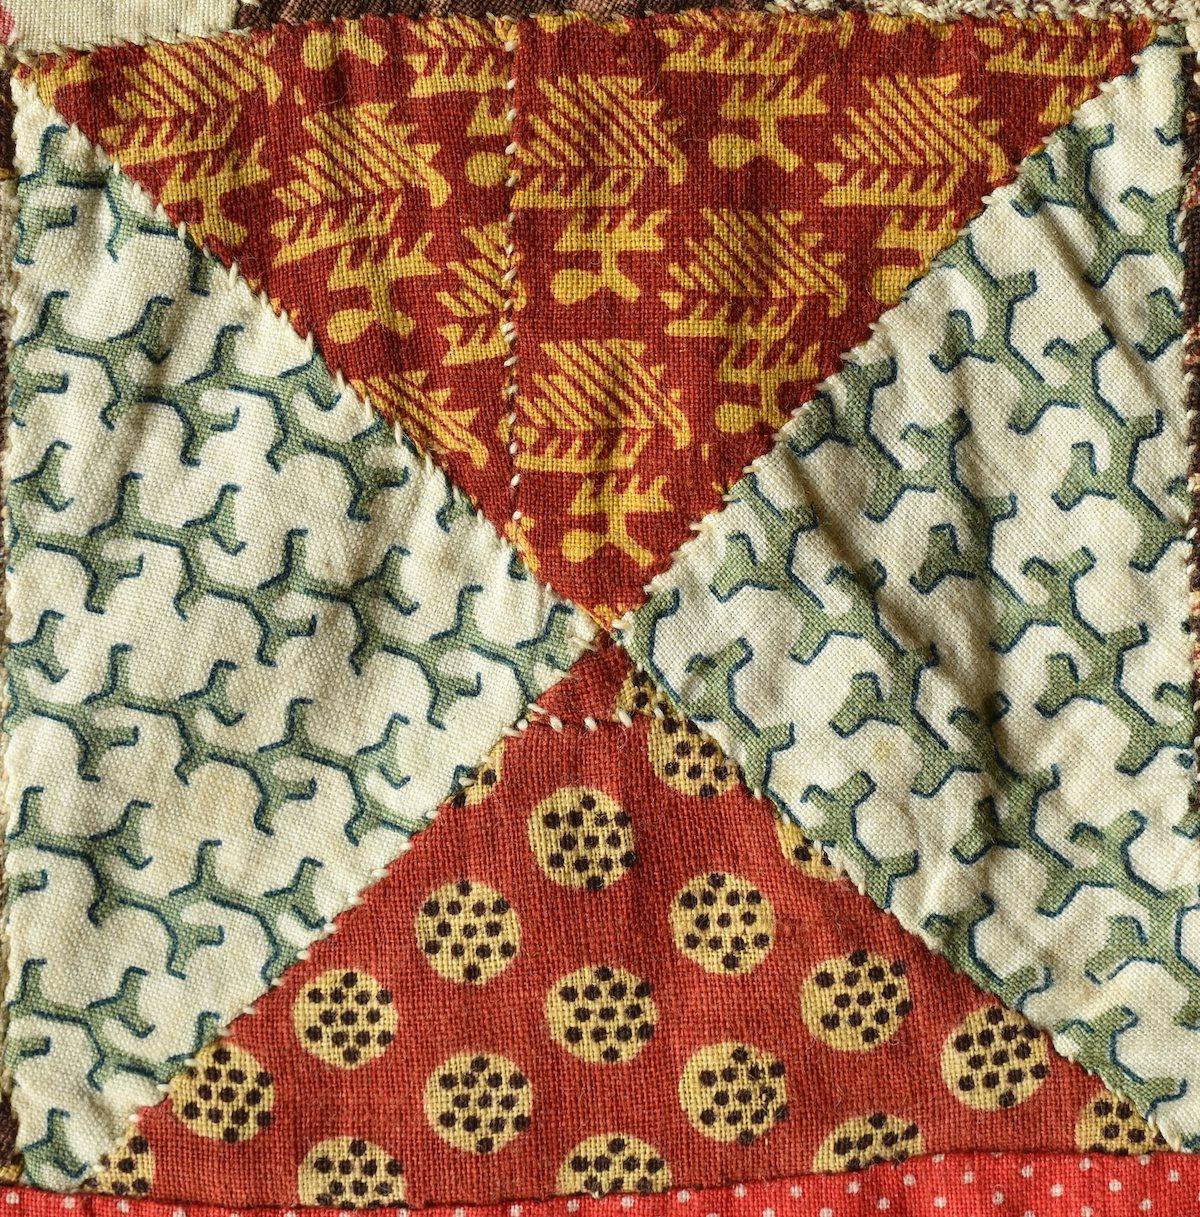
Madder and Quercitron could be combined to give red and yellow prints.
Note the triangle pieced from smaller scraps
There are some excellent examples of the lapis technique, which was developed between 1805 - 1825 to give perfect alignment between these two different dyeing processes. More details about this process are included in a paper in Issue 25 of Quilt Studies "Recognising the Printing and Dyeing Techniques Useful for Dating Fabrics".
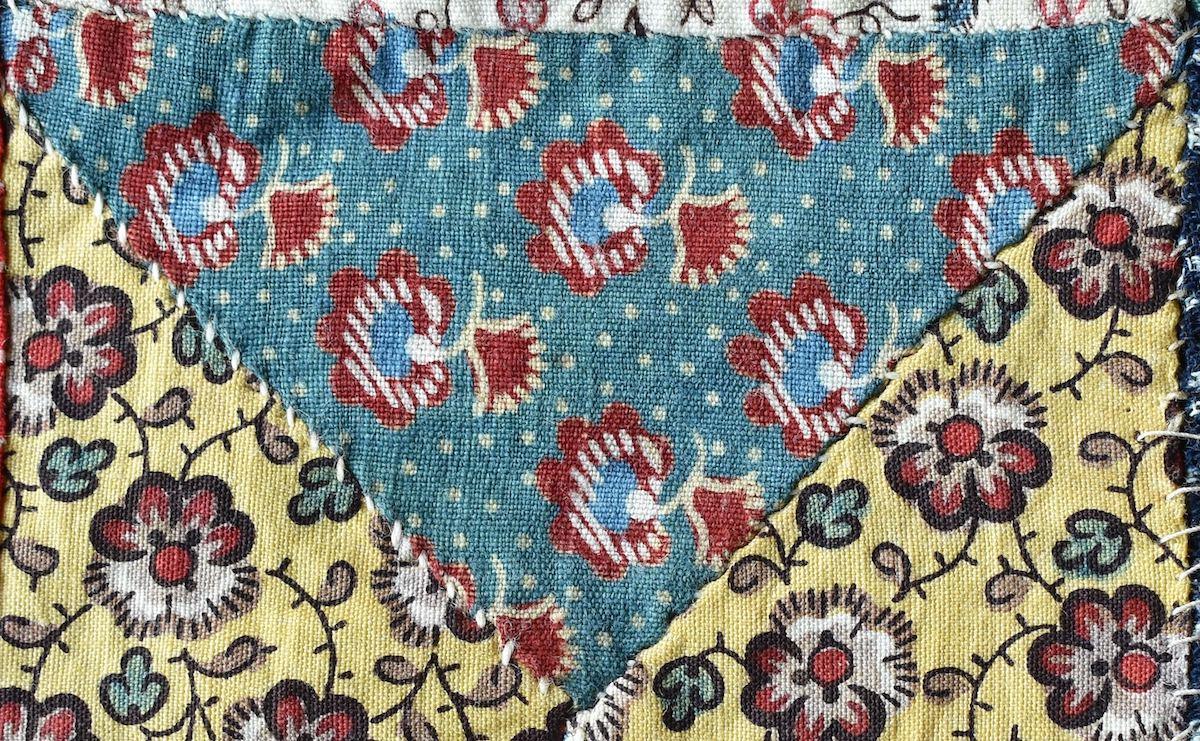
Note the perfect alignment of the blue (from indigo) and red (from madder) in this design.
This printing technique was known as lapis and was initially developed between 1805 and 1812
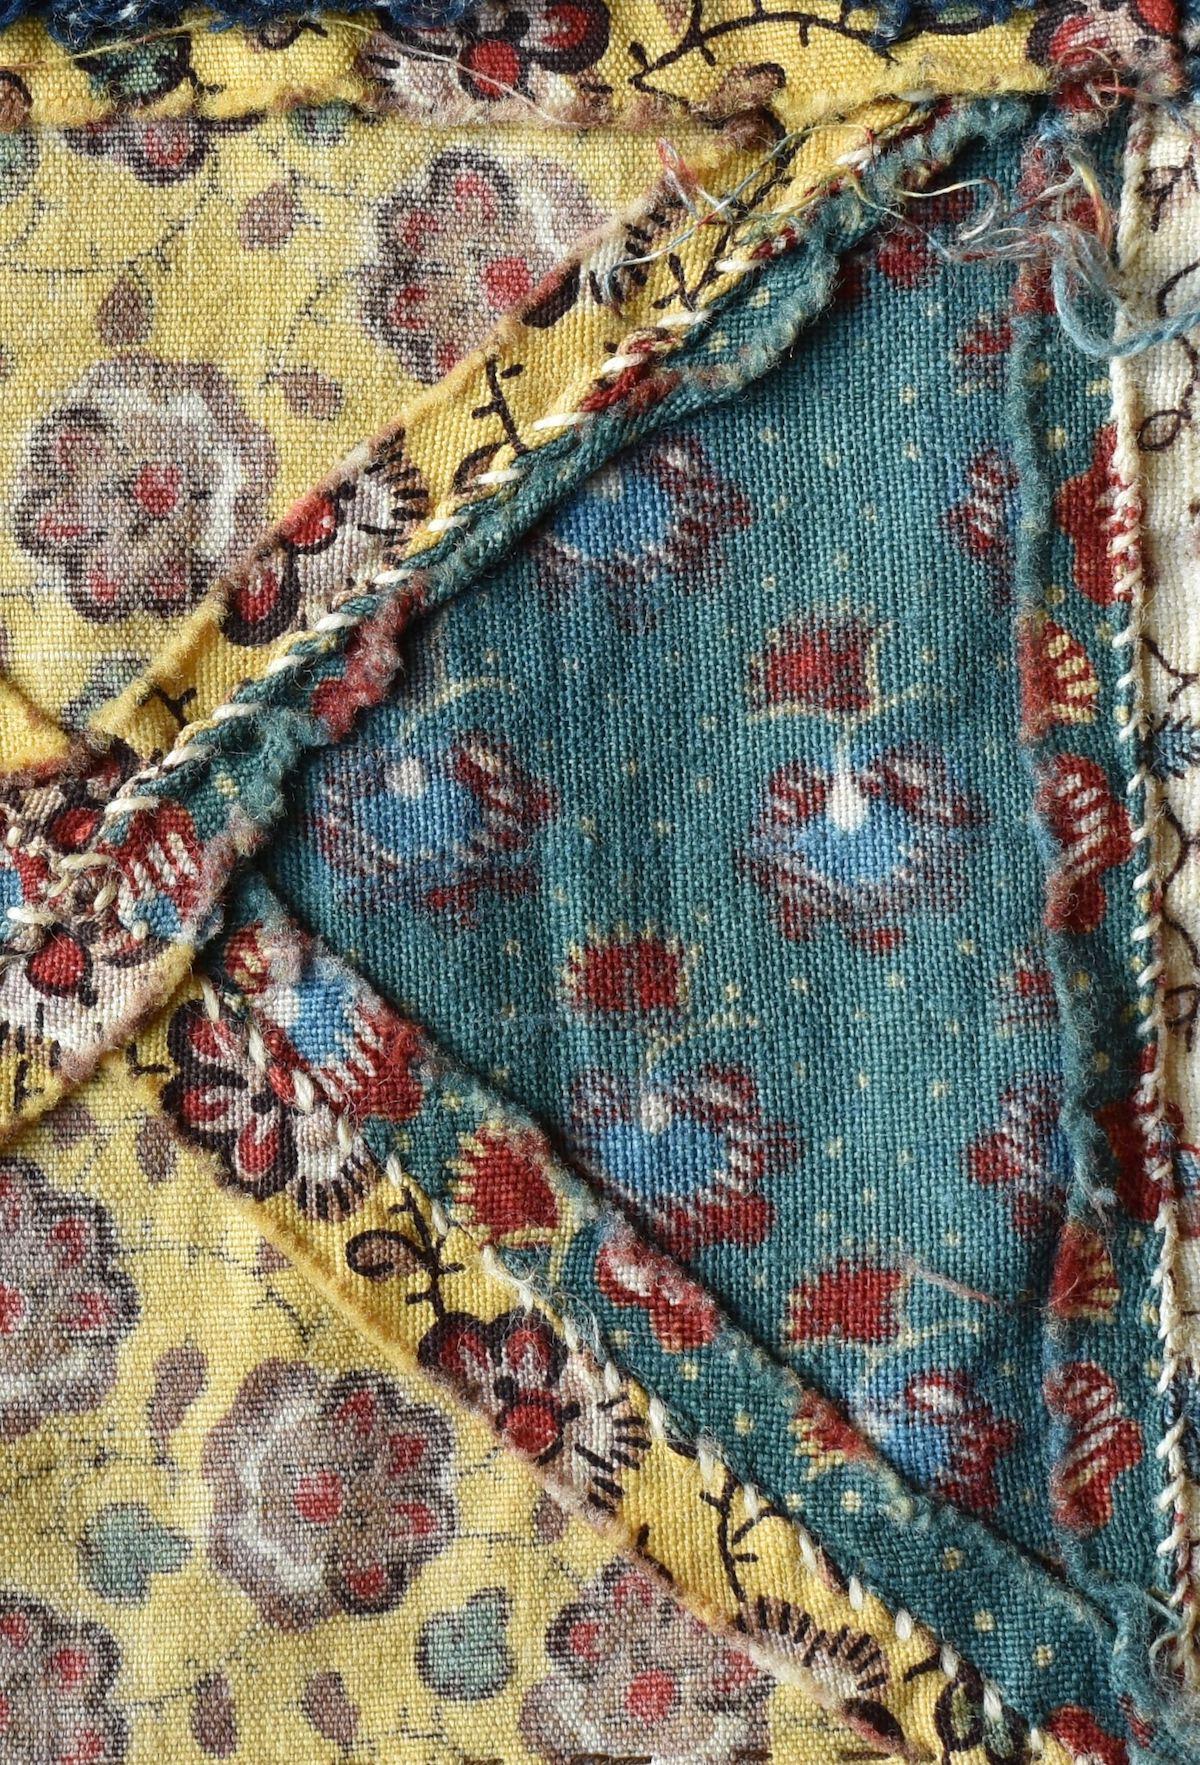
The reverse side of the fabric shows a distinct blue cast from the indigo vat across the entire fabric. In Quilt Studies Issue 4/5 Deryn O'Connor identifies this as the defining characteristic of a lapis print.
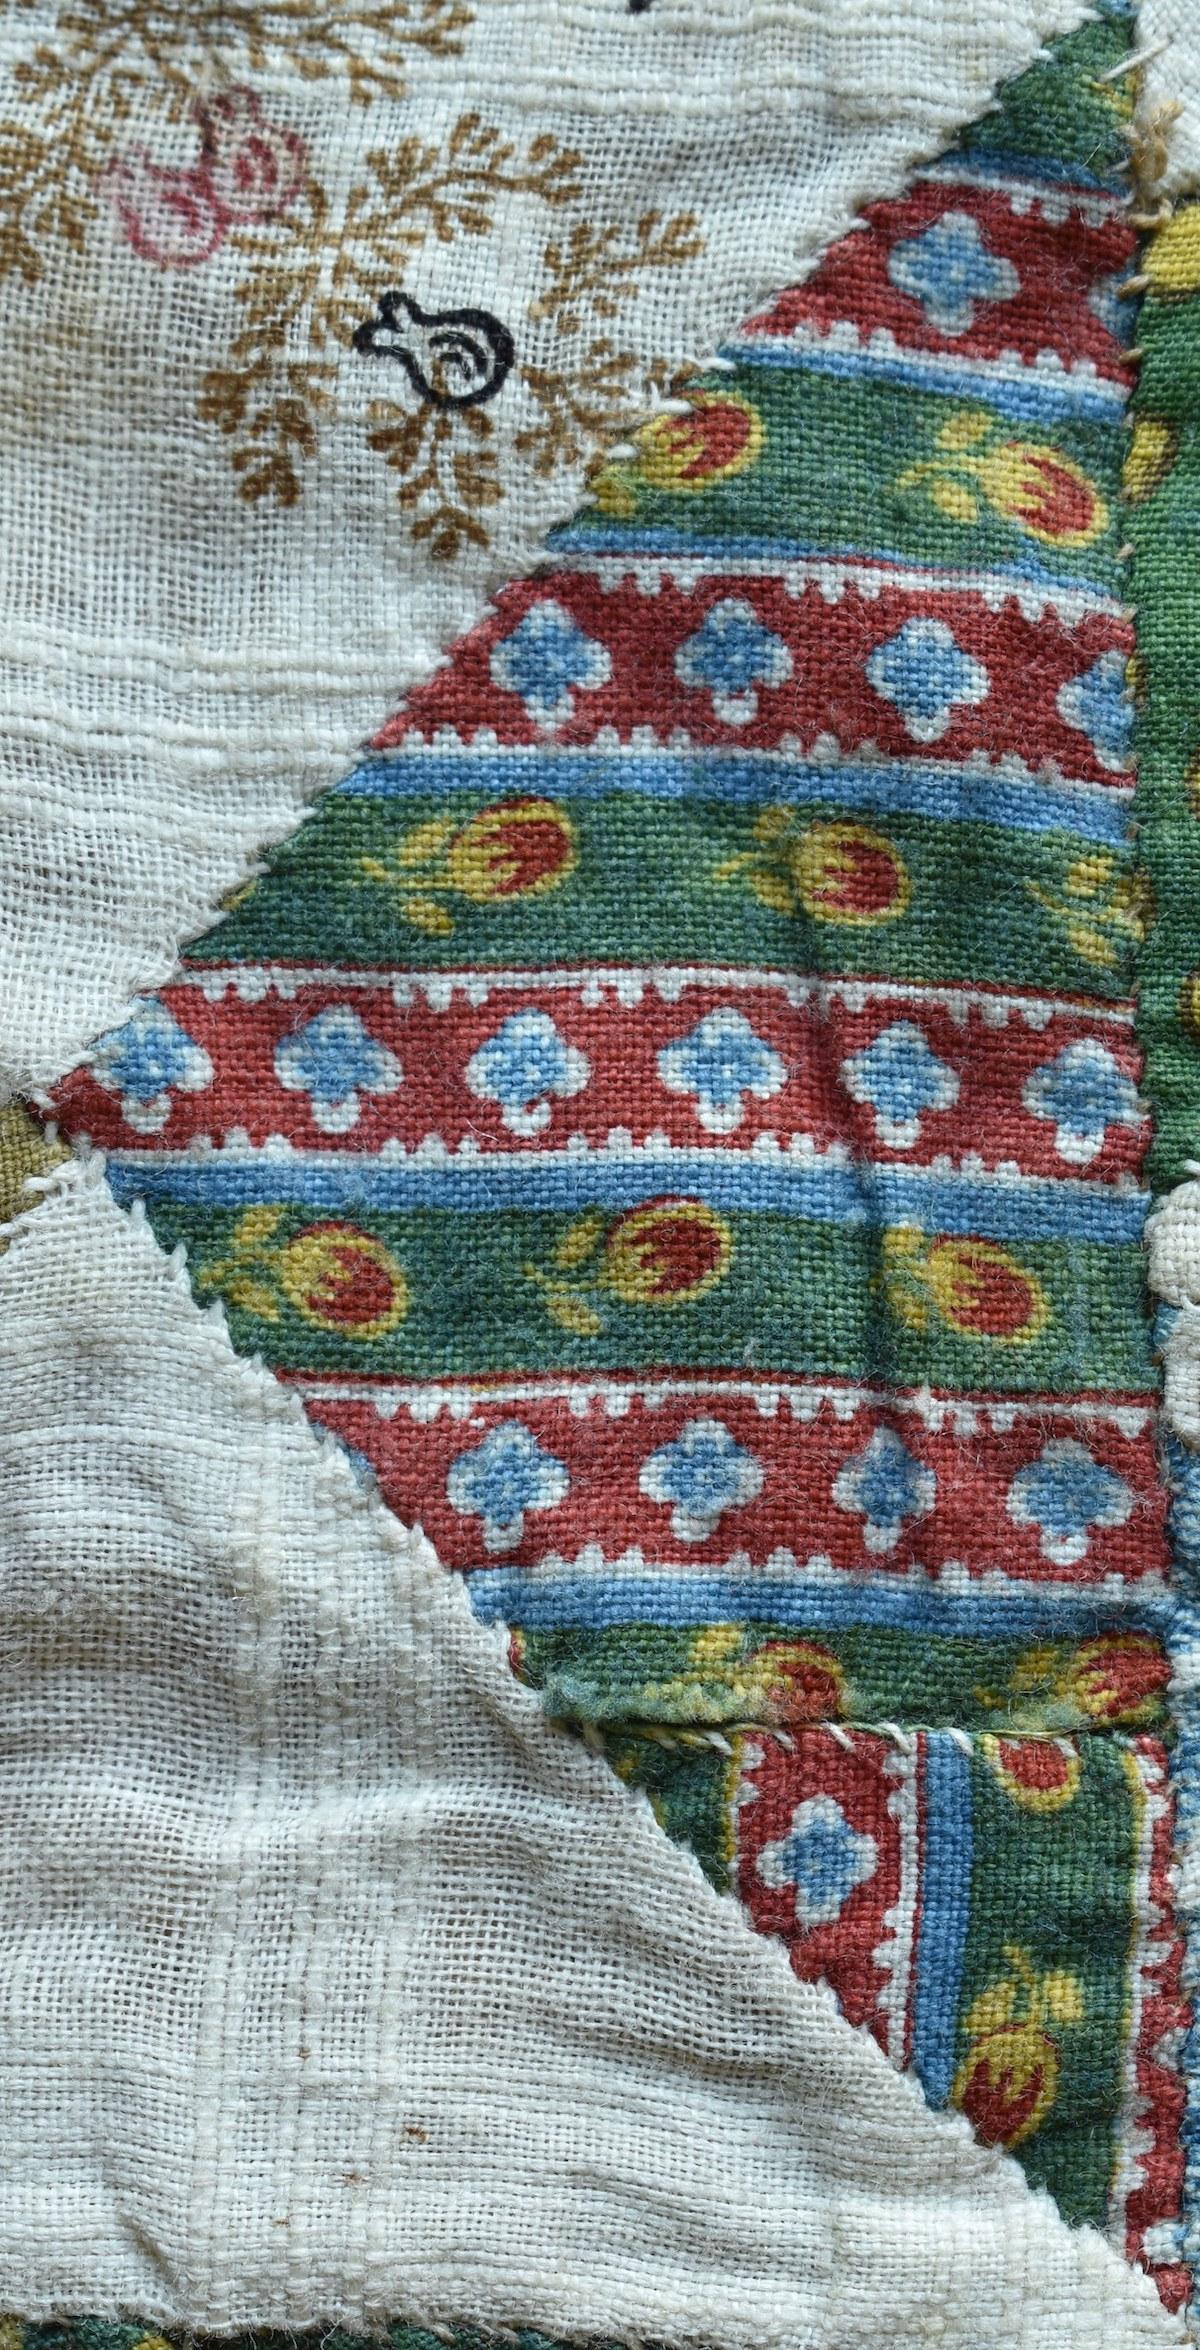
Between 1812 and 1825, the lapis technique was extended by adding a yellow dye such as quercitron. Where this overlaid the other colours, a much wider range of colours became possible.
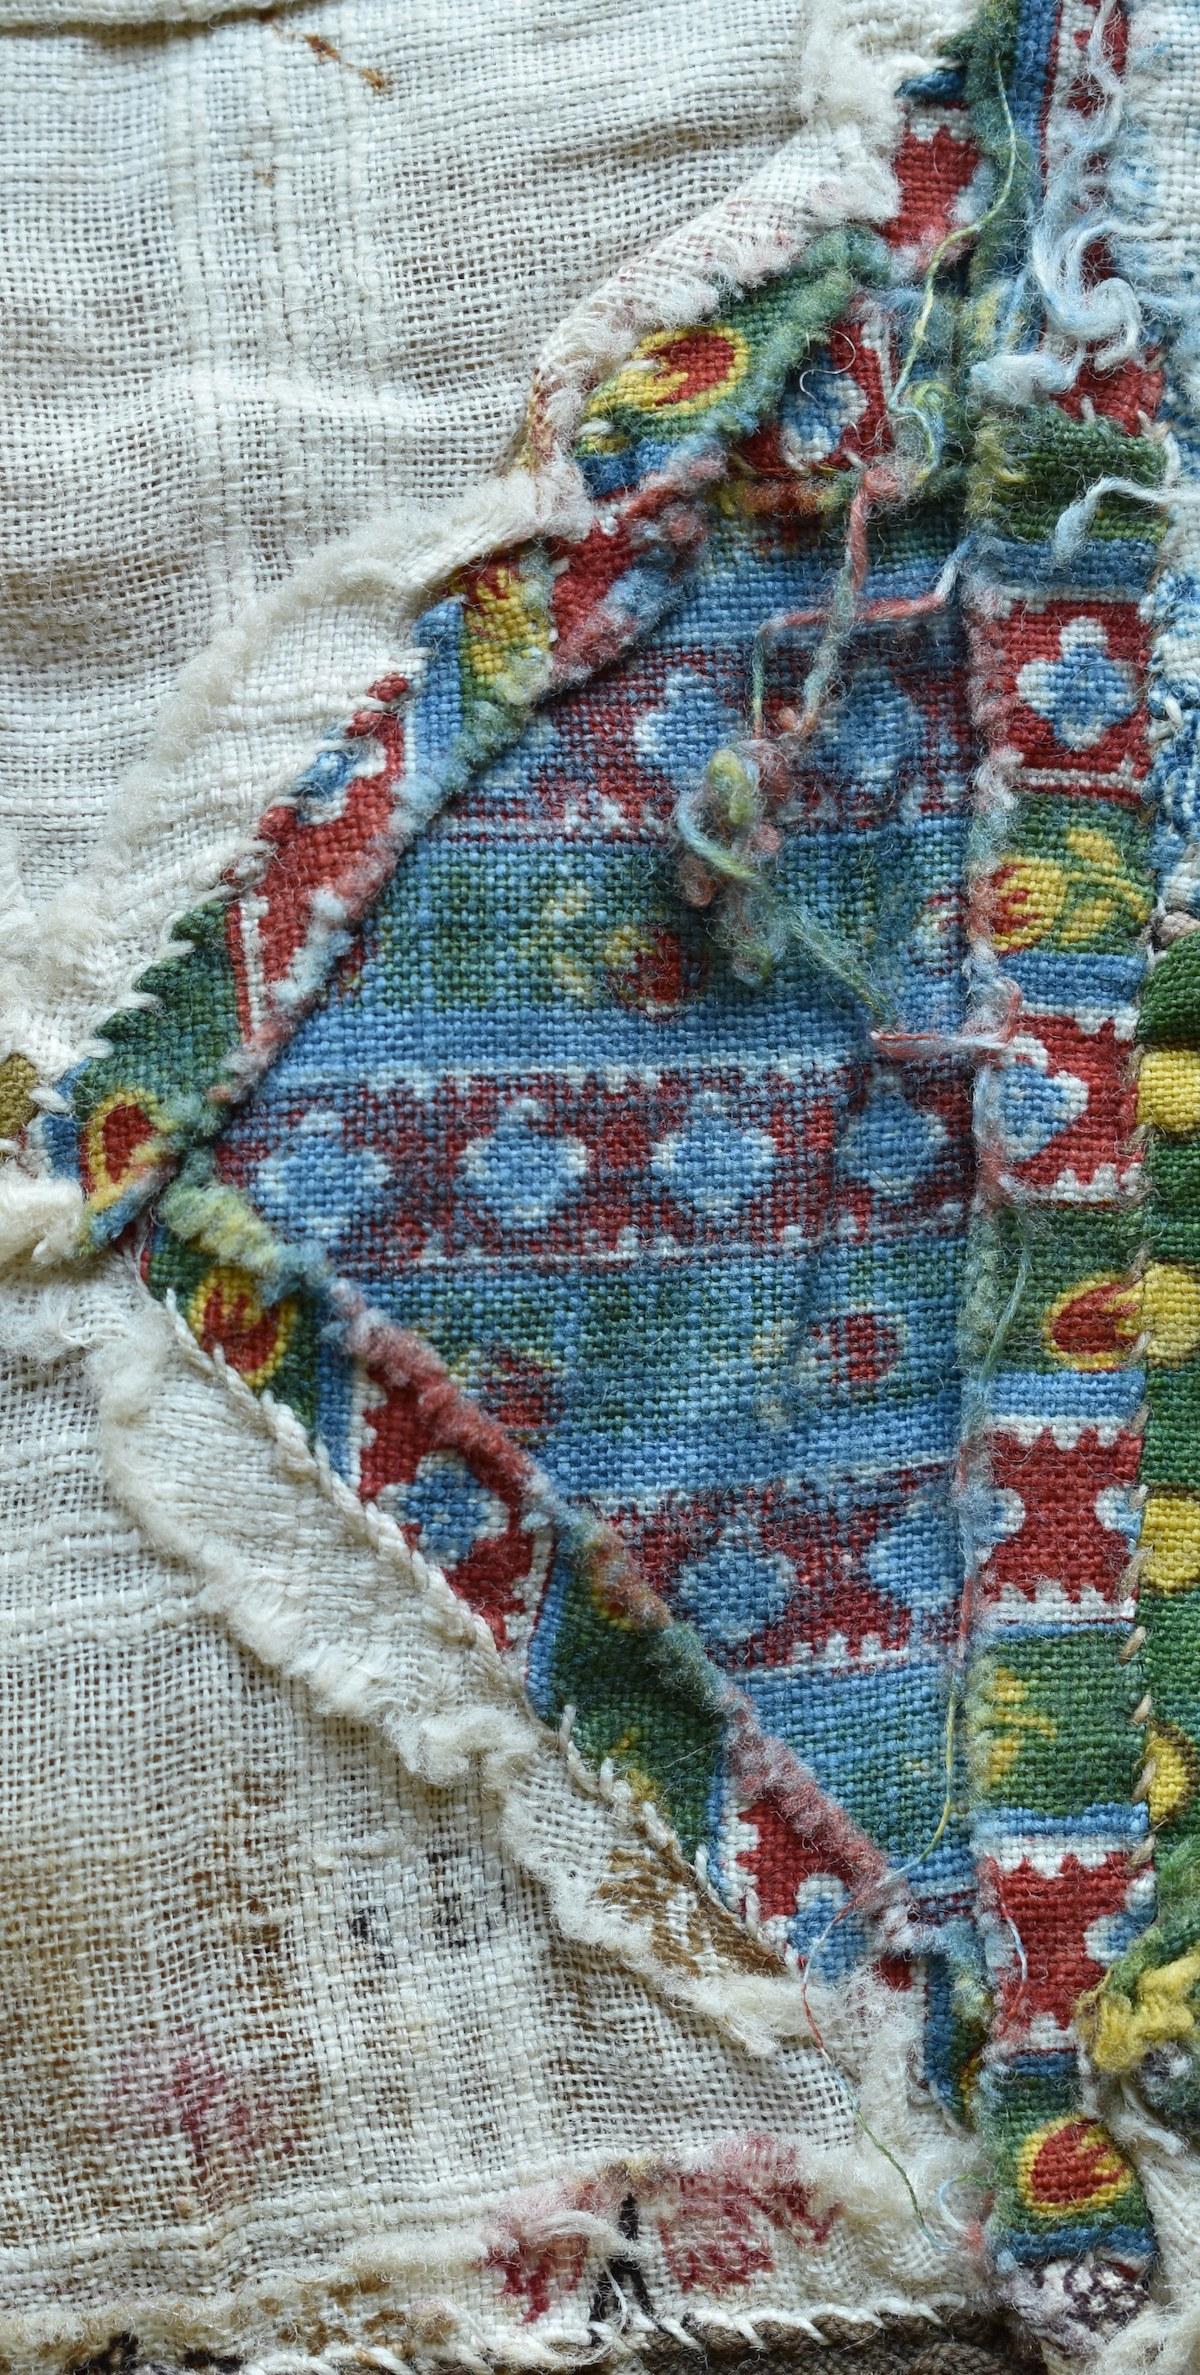
Note the blue cast to the back, revealing the lapis technique, despite the fact that very little blue is visible on the front!
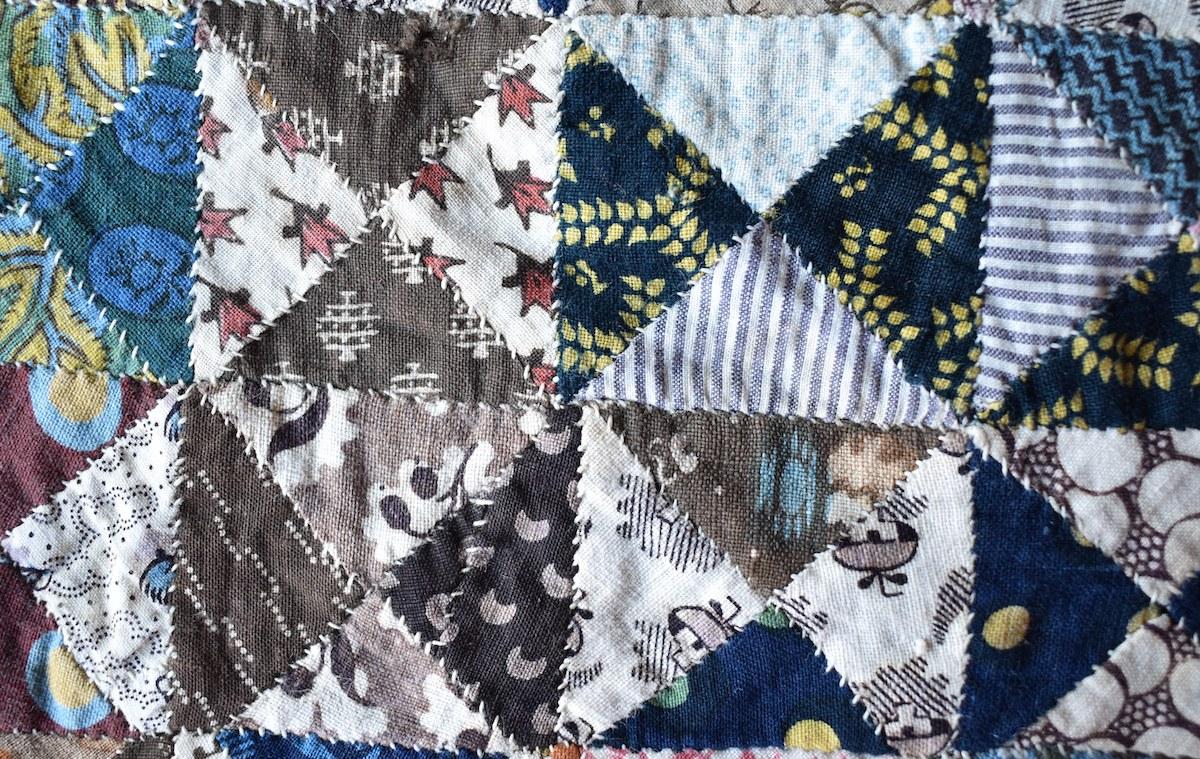
Copper strips were often inserted into wooden blocks to give short straight lines.
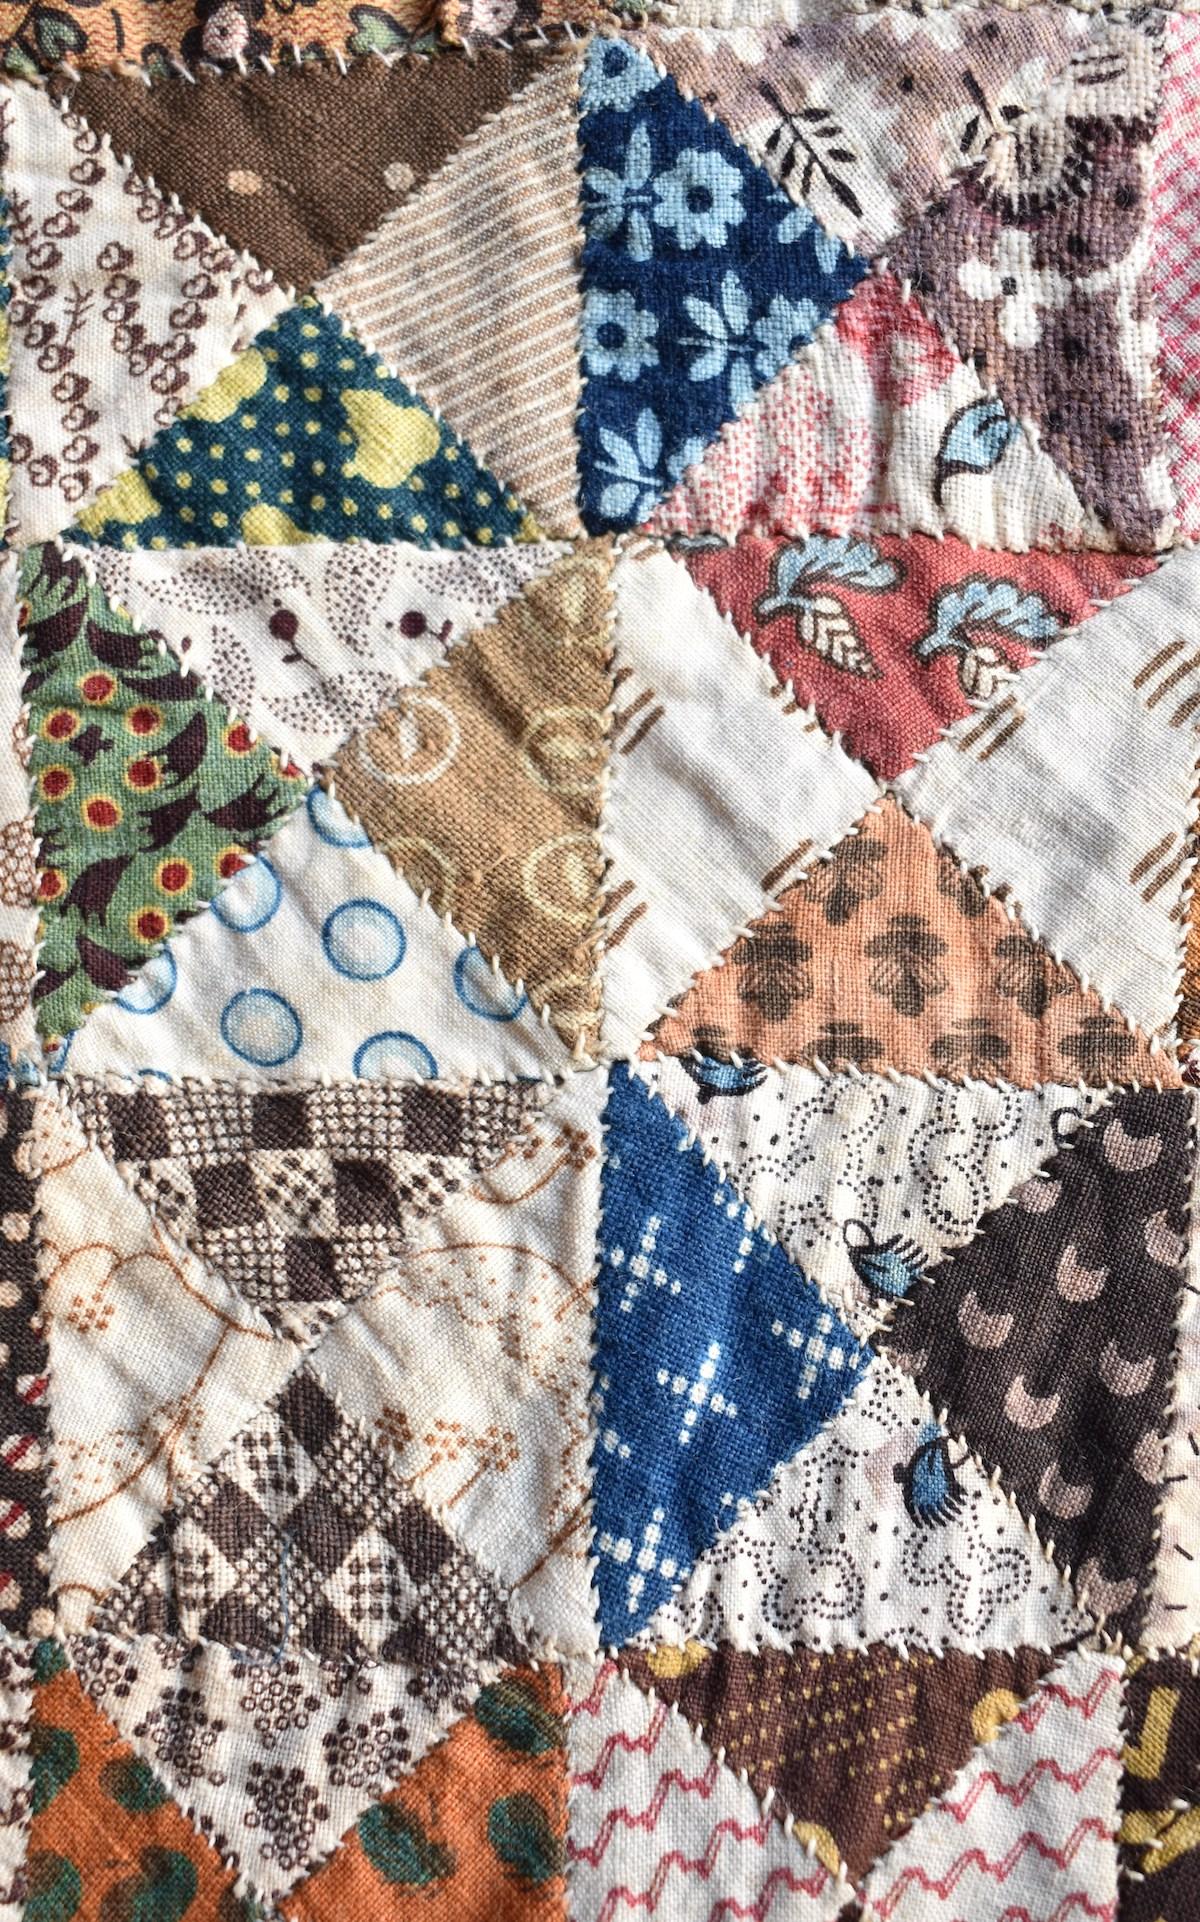
Many of these block prints include small dots (picotage). Thin wires were inserted into printing blocks to achieve this.
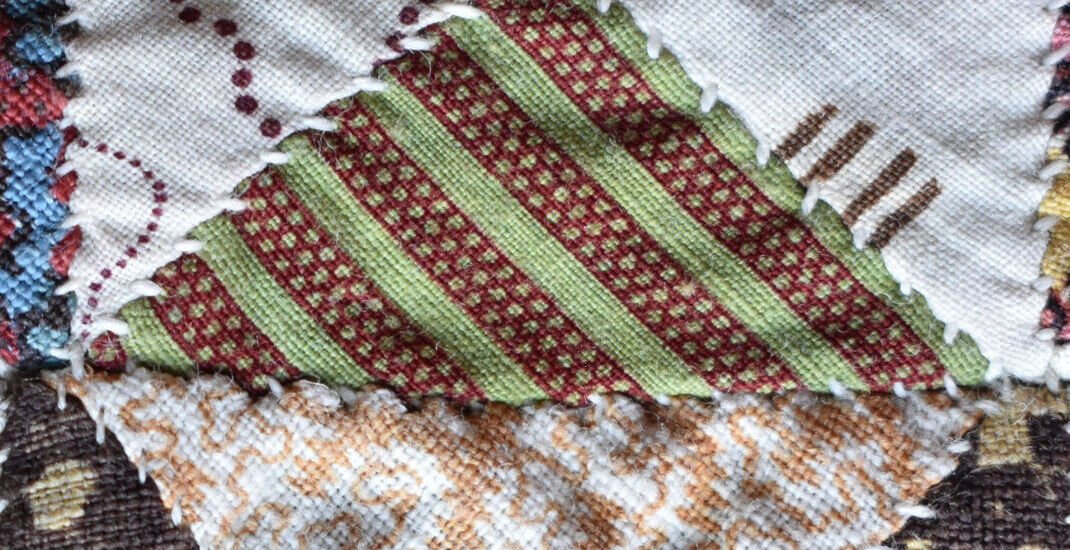
The even, fine scale nature of the red print on a green background compared to the cruder block prints, identifies it as being printed from an engraved copper cylinder.
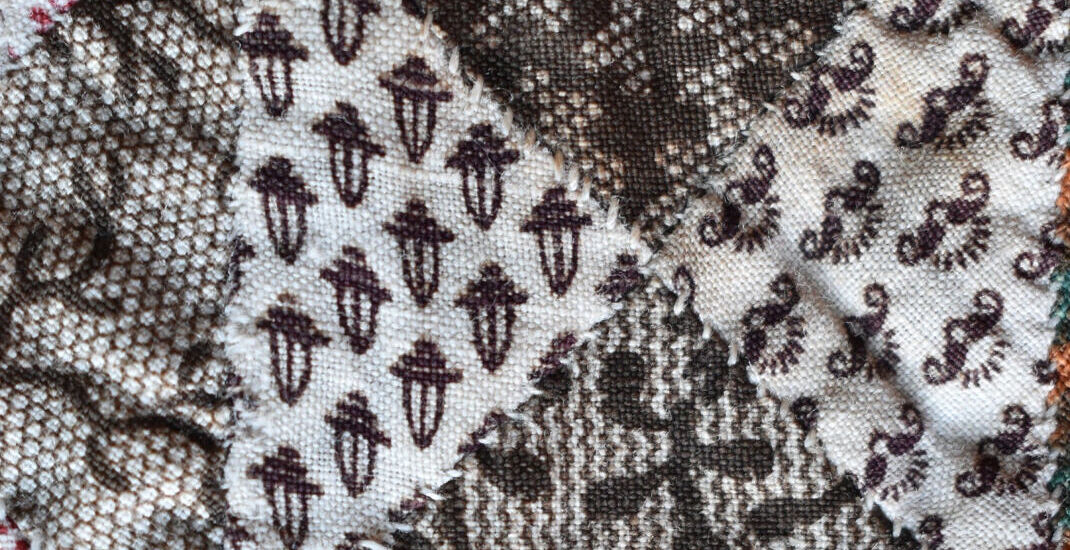
Etching cylinders was an alternative to engraving directly into the copper. The copper was covered with a varnish, and after engraving was dipped into acid, which could only attack the unprotected areas.
Between 1810 -20, a technique was developed in which net or lace was pressed into the varnish, instantly created a textured ground on etching, as seen in these examples.
