Unfortunately, we don't support Internet Explorer anymore as it has been replaced by Microsoft Edge.
Please try downloading Microsoft Edge or an alternative modern browser for the best experience.

Traditionally a quilt has three layers held together with quilting - the top layer, a layer of wadding for warmth which also gives depth to your quilting and a backing layer.
Coverlets, such as our 1718 Coverlet have only two layers - the top and backing layers.
Art quilts vary and are often described as two layers held together with stitch but if you are entering a competition do check the rules for any specific requirements.
The information below is taken from the Getting ready to quilt 'Back to Basics' article in The Quilter, by Anne Williams.
Most quilts are made with three layers, a backing fabric, a layer of wadding to add loft and definition and your newly made quilt top
Usually, 100% cotton of a similar weight to the fabrics used in the quilt top is used for the backing. To allow for shrinkage when quilting, the backing should be at least 2in bigger all round than the quilt top.
If your quilt is less than 40in wide then you'll be able to use a single width of standard-width fabric. For quilts wider than 40in, wide backing fabrics are available, but you will have less choice of colour and prints so you may prefer to join lengths of standard-width fabrics. '
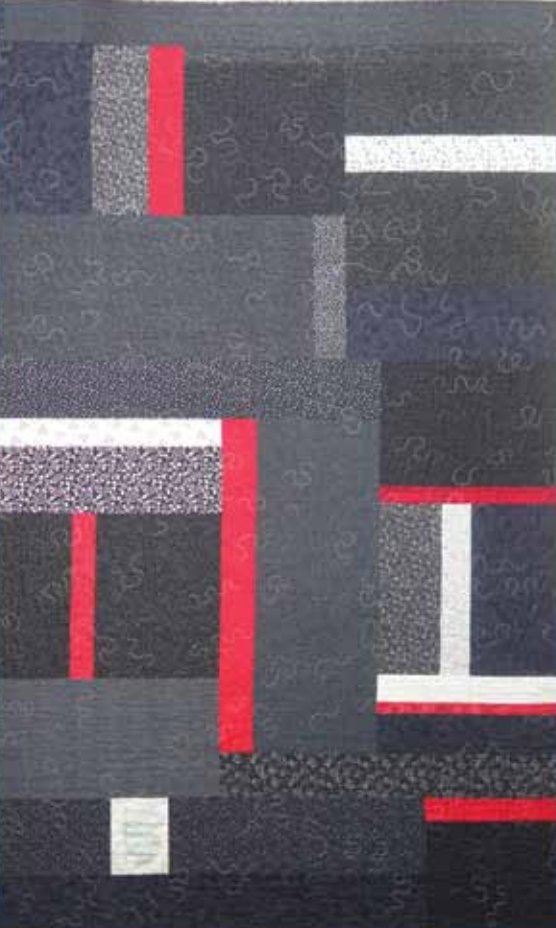
If your quilt is less than 40in wide then you'll be able to use a single width of standard-width fabric. For quilts wider than 40in, wide backing fabrics are available, but you will have less choice of colour and prints so you may prefer to join lengths of standard-width fabrics. Another option is to piece a more decorative backing so that your quilt is reversible, but if you do this bear in mind that you may have lots of seam allowances in your quilt top and backing, so if you plan to hand quilt, stitching through so many layers could be difficult. Something else to consider when choosing your backing fabric is how proficient/experienced you are at quilting. Patterned fabrics are great for 'hiding' less than perfect stitching, whereas plain fabrics will show up every imperfection.
As well as choosing a suitable backing fabric, you also need to select wadding, sometimes called batting, for the middle layer of your quilt.
Broadly speaking, waddings fall into natural, synthetic or natural/synthetic mixes. If you prefer to use natural materials then that will reduce your options, but there are still choices to be made and things to take into account before making your final decision.
When selecting wadding you need to consider: the final use of the quilted item, for example will it need to be laundered; would you prefer to hand or machine quilt, or use a combination of the two; how far apart would you like your stitching to be? Some waddings have a stitching interval of 4in, others up to 10in; do you want a 'flat' look or a more 'puffy' appearance?
Manufacturers' labels give information about the characteristics and care of the wadding which will help you to decide on its suitability for your project; there is also information online. Once you've chosen your wadding, you need to determine whether it needs to be pre-washed before quilting, this means it will shrink. If you like the antique 'crinkled' look, then you could skip the pre-washing step and launder your quilt once it's finished, which will create an aged effect.
If you buy your wadding in a pack rather than off-the-bolt, to give your quilt a better finish, at least a day before you're going to layer your quilt, take the wadding out of the pack and lay it flat on a bed to 'relax', i.e. let the folds drop out. When trimming ready for layering, as with the backing fabric, the wadding should be at least 2in bigger all round than the quilt top.
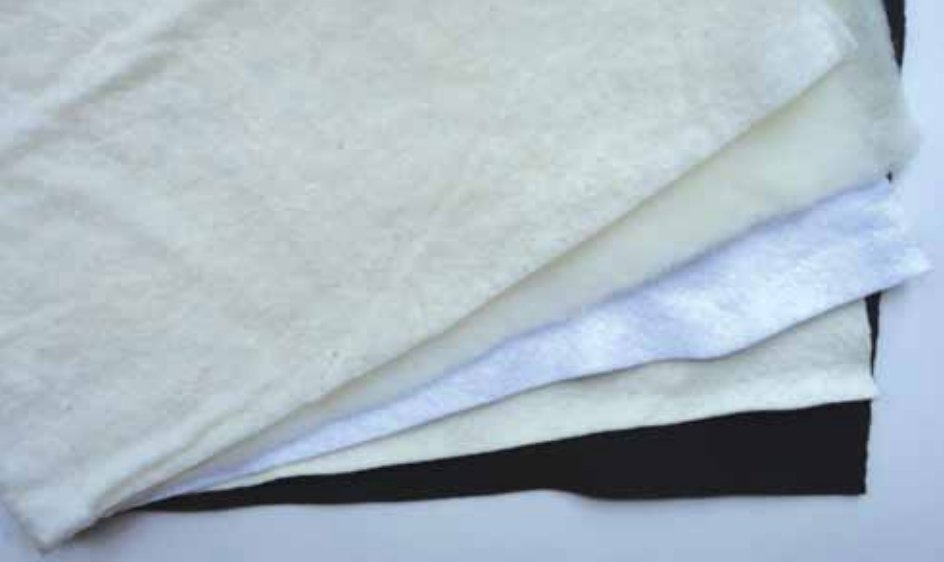
You can buy sample packs of squares of different waddings. These are an excellent way try out the different waddings available to see which you prefer the look and feel of. When quilting a sample, it's a good idea to keep notes of the wadding, thread(s) and tensions etc used, on a large luggage label. The label can then be attached to the sample so that you can refer to it time and again.
Layering is the process of making the quilt sandwich with the backing, wadding and quilt top. It's worth taking time to do this carefully as wrinkles, puckers and folds will spoil the appearance of your quilt, and once they're stitched in place then you're stuck with them. First, give your backing fabric a good press and then place it right side down on a clean flat surface. Smooth out any wrinkles and, if you wish, hold it in place with
Next, place the wadding on top, matching up the raw edges and smoothing out any folds. Finally, give your quilt top a good press and trim any stray threads from the wrong side, then place it centrally and right side up on the wadding, smoothing it into place.
Once the layers are in place, they need to be secured. You can do this with pins (safety or quilters) or by tacking. Generally, if you plan to machine quilt then use pins, tacking can get caught up in your machine's foot as you stitch which can cause gathers/puckers to form; if you plan to hand quilt then use tacking. Quilting thread tends to get caught around pins as you stitch, which can cause knots and be annoying. Whichever method you use, work from the centre of the quilt outwards. If using safety pins, don't close them until they are all in place as the 'twisting' action can introduce puckers. If tacking use a darning needle and a neutral thread, coloured threads can stain, especially if the tacking is left in the work for some time. For small quilts, you can use a temporary spray adhesive for fabric, although some people are wary about using chemicals on their quilts. Tacking/basting guns and tacks are available as an alternative to pinning. Now your quilt is layered, it's ready for quilting, and finally binding.
If you are going to quilt with a particular quilt design then you will need to mark your quilt top before layering. There are a number of ways to do this, e.g. use a hard lead pencil, artists or quilters pencils, chalk or soapstone. Whatever marker you use, it's a good idea to test it on a piece of scrap fabric from your quilt top to make sure the marks will wash out. Ensure that you mark the quilt top after pressing; if you press after marking you may heat-set the lines and they won't wash out after quilting.
